
Geschrieben von Robin
Leitender Ingenieur, Doaho Test (DHT®)
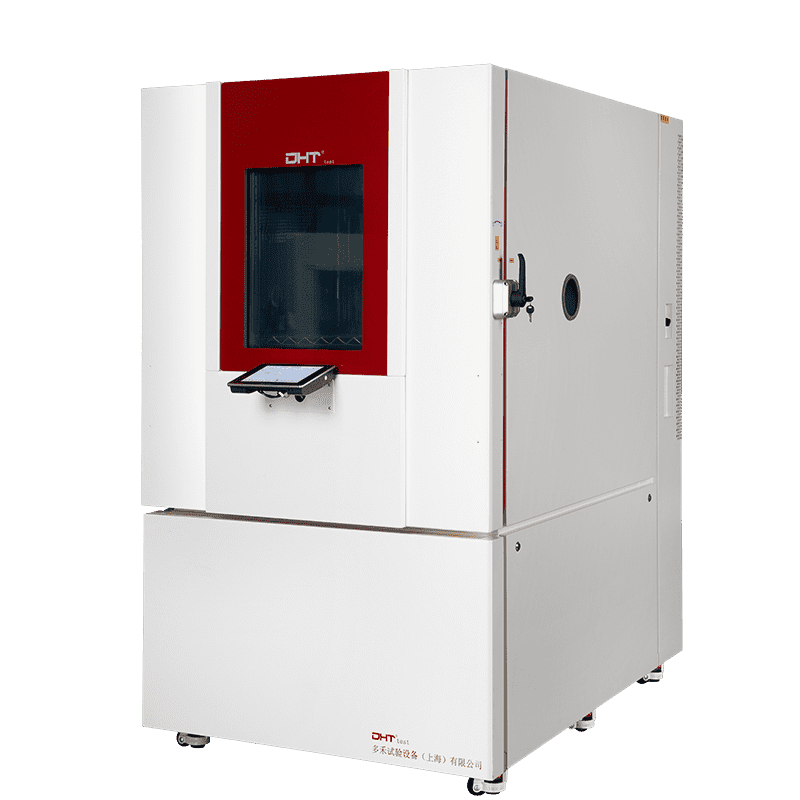
Da die Nachfrage nach extremen Umwelttests von neuen Materialien, Gesamtsystemen für Fahrzeuge und großflächigen Komponenten weiter wächst, werden Drive-in-Kammern (auch bekannt als Drive-in-Testkammern oder Drive-in-Testkammern) zunehmend in High-Tech-Sektoren wie Automobil, neue Energien, Luft- und Raumfahrt sowie Verteidigung eingesetzt. Diese großformatigen Umweltsimulationssysteme bieten erhebliche Vorteile: hohes Innenvolumen, starke Tragfähigkeit, multifunktionale Integration und Anpassungsfähigkeit an eine breite Palette von Testbedingungen. Sie eignen sich besonders gut für die Bewertung von kompletten Fahrzeugen, Batteriepaketen und Strukturmodulen in rauen Temperatur-, Feuchtigkeits- und Temperaturschockumgebungen.
Aufgrund ihrer enormen Größe, komplexen Systeme und hohen Stromanforderungen ist die Installation von Drive-in-Kammern jedoch weit davon entfernt, ein einfacher Plug-and-Play-Prozess zu sein. Sie erfordert umfassende ingenieurtechnische Überlegungen, einschließlich Raumplanung, Konfiguration des elektrischen Systems, Belüftungs- und Wärmeableitungsdesign sowie robuster Sicherheitsprotokolle. Unzureichende Vorbereitung in diesen Bereichen kann zu instabilem Betrieb, erhöhtem Energieverbrauch, Wartungsherausforderungen und sogar Sicherheitsrisiken führen.
Dieser Artikel präsentiert einen professionellen, praxisnahen Leitfaden zu den drei Kerndimensionen der Installation einer Drive-in-Testkammer: Raumaufteilung, Energieinfrastruktur und Betriebssicherheit.
Raumplanung: Nicht nur die Box einpassen, sondern Zugang und Wartbarkeit ermöglichen
Installationsraum und Wartungszugang
Eine Drive-in-Kammer ist mehr als nur eine Box. Sie umfasst Untersysteme wie die Kälteeinheit, elektrische Schalttafeln, Luftkanäle, Heizelemente und Wärmetauscherkomponenten. Ein häufiger Fehler ist die Zuweisung von Platz, der ausschließlich auf dem Fußabdruck der Kammer basiert, während der Bedarf für Wartung, Bedienerbewegung und Luftzirkulation ignoriert wird.
Empfehlungen:
- Halten Sie einen Abstand von mindestens 0,8 bis 1,2 Metern zu allen Seiten der Kammer für Wartungsarbeiten ein.
- Vermeiden Sie abgedichtete oder abgehängte Decken über der Kammer, um den Zugang zu Luftkanälen und Kabeln zu ermöglichen.
- Wenn Fahrzeuge oder große Geräte getestet werden, berücksichtigen Sie den Wendekreis, die Türbreite und den Belüftungsabstand.
Bodenbelastungskapazität und strukturelle Verstärkung
Drive-in-Kammern können mehrere Tonnen wiegen, ohne das Gewicht von Testartikeln, Plattformen oder Kühlsystemen. Der Boden muss auf ausreichende Tragfähigkeit bewertet werden, um Setzungen, Kippen oder strukturelle Schäden zu vermeiden.
Empfehlungen:
- Führen Sie vor der Installation professionelle Bodenbelastungsbewertungen durch.
- Verstärken Sie die Basis bei Bedarf mit Betonbalken oder -platten oder betten Sie Stahlrahmen ein.
- Wenn Schienenwagen für die Probenbewegung verwendet werden, entwerfen Sie im Voraus Führungsfallsenpositionen und Nivellierungsstrategien.
Lüftung und Wärmeableitung
Diese Kammern erzeugen während des Betriebs erhebliche Wärme. Ohne ausreichende Belüftung wird die Raumtemperatur steigen, was die Kühleffizienz verringert und möglicherweise Hochtemperaturalarm auslöst.
Empfehlungen:
- Installieren Sie ein unabhängiges Luftaustausch- und Abluftsystem.
- Leiten Sie die Kondensator-Abwärme nach außen ab.
- In räumlich begrenzten oder temperatursensiblen Bereichen sollten luftgekühlte Einheiten oder variable Geschwindigkeits-Wärmeableitungssysteme in Betracht gezogen werden.
Elektrische Systeme: Stabile Infrastruktur für Hochleistungsausrüstung
Nennleistung und Anlaufstromanforderungen
Drive-in-Testkammern arbeiten oft bei 30–100 kW oder mehr, wobei mehrere Hochlastmodule (Kompressoren, Heizungen, Gebläse) eingebaut sind. Einige Komponenten ziehen beim Start das 3- bis 6-fache ihres Nennstroms, was erhebliche Leistungsspitzen verursachen kann.
Empfehlungen:
- Weisen Sie einen dedizierten Stromkreis oder Transformator zu.
- Entwerfen Sie die Verteilungskapazität bei Nennleistung + 20%, um Überlastungen zu vermeiden.
- Verwenden Sie Sanftanlasser oder Wechselrichter, um die Auswirkungen des Anlaufstroms zu mildern.
Dreiphasenstrom und Erdung
Die meisten Drive-in-Kammern benötigen Dreiphasen-Fünfleitersysteme und eine robuste Erdung, um die Betriebsstabilität und die elektrische Sicherheit zu gewährleisten.
Empfehlungen:
- Verwenden Sie Erdungsdrähte mit einem Querschnitt von mindestens 16 mm² und unabhängiger Verlegung.
- Halten Sie den Erdungswiderstand unter 1 Ω gemäß GB 50057 oder IEC-Standards.
- Erdung aller exponierten Metallstrukturen zur Vermeidung von elektrischen Leckagen oder statischer Aufladung.
USV und Notstromversorgung
Bei hochwertigen Tests (z.B. EV-Batteriepakete, Antriebsstränge, Kommunikationsmodule) kann ein plötzlicher Stromausfall zu einem irreversiblen Datenverlust oder einem Testausfall führen. Eine Backup-Stromstrategie ist entscheidend.
Empfehlungen:
- Setzen Sie eine unterbrechungsfreie Stromversorgung (USV) mit ausreichender Laufzeit ein.
- Implementieren Sie automatische Schutzprotokolle, um Daten zu sichern und Tests sicher zu unterbrechen.
- Bei kontinuierlichen oder entscheidenden Tests sollte die Integration mit Backup-Generatoren in Betracht gezogen werden.
Sicherheitsprotokolle: Das unsichtbare Fundament für zuverlässige Tests
Zugangskontrolle und Notausgang
Personal betritt regelmäßig die Testkammer während der Einrichtung oder Überwachung. Diese Koexistenz mit extremen Umgebungen (Hitze, Kälte, Feuchtigkeit) erfordert robuste Sicherheitsmechanismen.
Empfehlungen:
- Statten Sie Kammern mit internen Not-Halt-Knöpfen und manuellen Türfreigaben aus.
- Fügen Sie Infrarotsensoren oder Anwesenheitssensoren hinzu, um ein Eingeschlossensein zu verhindern.
- Verwenden Sie Doppelverriegelungstürsysteme, um ein versehentliches Öffnen während des Betriebs zu verhindern.
Brand-, Explosions- und Gasüberwachung
Testproben wie Batterien, Wasserstoffsysteme oder chemische Module können unter extremen Bedingungen Verbrennungs-, Explosions- oder Gasleckgerfahr darstellen.
Empfehlungen:
- Installieren Sie Sensoren für Wasserstoff, Kohlenmonoxid, flüchtige organische Verbindungen (VOCs) oder andere gefährliche Gase.
- Verbinden Sie sich mit einem automatischen Feuerlöschsystem (Trockenpulver, Inertgas oder Nebel).
- Entwerfen Sie mehrstufige Druckentlastungsöffnungen, um während Notfällen sicher internen Druck abzulassen.
Lärmund Vibrationskontrolle
Drive-in-Kammern enthalten häufig Kompressoren und Lüfter, die Geräuschpegel von bis zu 70–80 dB erzeugen. Wenn die Einheit sich in der Nähe von Büros, Reinräumen oder Kontrollzentren befindet, ist akustische und mechanische Isolierung entscheidend.
Empfehlungen:
- Verwenden Sie schalldichte Paneele, Isolierung oder komplette Lärmschutzverkleidungen.
- Fügen Sie Anti-Vibrationsunterlagen oder Isolationsrahmen an wichtigen Gerätepunkten hinzu.
- Halten Sie die Betriebsgeräuschpegel unter 75 dB, um Komfort und Systemstabilität zu gewährleisten.
Fazit: Strategische Planung sichert langfristigen Wert
Drive-in-Kammern sind leistungsstarke, hochintegrierte Umwelttestplattformen. Ihr erfolgreicher Einsatz hängt von detaillierter ingenieurtechnischer Vorbereitung und professioneller Installationskoordination ab. Von der Raumaufteilung bis zur elektrischen Konfiguration und zum Sicherheitssystemdesign muss jedes Element umfassend in Zusammenarbeit mit Herstellern, Ingenieuren und Benutzern angegangen werden.
Eine gut ausgeführte Installation stellt nicht nur sicher, dass die Kammer ihr volles Potenzial ausschöpft, sondern verlängert auch die Lebensdauer der Ausrüstung, verringert Wartungskosten und minimiert Betriebsrisiken.
Wenn Sie planen, eine Drive-in-Testkammer zu kaufen oder zu installieren, bietet DHT® einen umfassenden technischen Support - von der Vorinstallation vor Ort über Designberatung bis zur Umsetzung vor Ort und langfristigen Service. Lassen Sie uns Ihnen helfen, eine hochzuverlässige Testumgebung von Grund auf aufzubauen.