Written by Dorothy
Senior Sales Manager, Doaho Test (DHT®)
In industries where reliability is critical—such as electronics, automotive, aerospace, and semiconductors—thermal shock testing has become a core method for verifying a product’s structural integrity and performance under extreme temperature fluctuations. The key equipment for this task, the thermal shock chamber, plays a decisive role in both the accuracy of the test results and the overall efficiency and ROI of testing operations.
Among the mainstream configurations, two types dominate the market: three-zone and two-zone thermal shock chambers. They differ significantly in structural design, performance, and application scenarios. A common challenge for users during procurement is: Should I choose a three-zone or a two-zone model?
This article offers a detailed comparison of these two structures and provides expert recommendations to help you make a well-informed, application-specific selection.
Why Perform Thermal Shock Testing?
Thermal shock testing simulates rapid alternations between high and low temperatures to replicate real-world thermal stress that a product may encounter during operation. It’s essential for validating mechanical, electrical, and material resilience in harsh conditions.
This test is widely used in:
-
Electronic components and PCB assemblies
-
EV battery packs and control systems
-
Aerospace and defense components
-
Precision medical devices
-
Semiconductor chips and sensor packaging
Using a thermal shock test chamber enables engineers to proactively detect potential failures—such as thermal expansion stress, solder joint cracking, circuit fatigue, and seal degradation—thereby improving reliability.
However, the validity and engineering relevance of test results are directly influenced by the chamber’s design. Understanding the core differences between the two main structures is critical.
Three-Zone Thermal Shock Chambers: Static Testing, High Precision
Structural Overview:
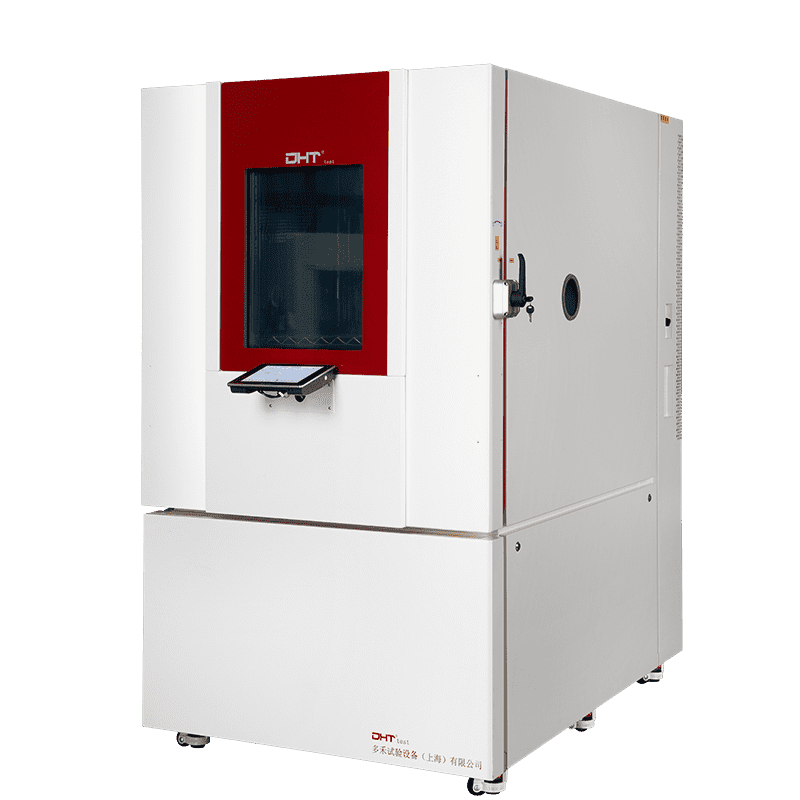
Three-zone chambers consist of three independent compartments: a high-temperature zone, a low-temperature zone, and a central test zone. The test specimen remains stationary in the test zone, while hot or cold air is rapidly directed into it to simulate temperature extremes.
Key Advantages:
-
No sample movement: Eliminates mechanical transfer, ideal for delicate, precision, or large components.
-
Rapid transition: Air circulation enables ultra-fast temperature change rates—up to 15°C/min.
-
High repeatability and stability: Consistent test environment enhances data reliability.
-
Enhanced safety: Separate zones with built-in thermal isolation and over-temperature protection support high-intensity, continuous operation.
Ideal Applications:
-
Aerospace and military-grade reliability testing
-
Long-duration thermal cycling for semiconductor packaging
-
High-value, complex systems requiring controlled stress evaluation
Two-Zone Thermal Shock Chambers: Compact Design, Agile Performance
Structural Overview:
Two-zone chambers feature two compartments—a hot zone and a cold zone. The test specimen is moved between the zones using pneumatic or mechanical lifting systems, exposing it to rapid thermal transitions.
Key Advantages:
-
Compact footprint: Space-saving design ideal for labs with limited space.
-
Lower cost: Cost-effective for small to medium-sized testing needs.
-
Fast recovery: Each zone maintains stable temperature, enabling quick cycling.
-
Versatile: Well-suited for general electronics, materials, and R&D validation.
Ideal Applications:
-
Sample-level validation for consumer electronics
-
Entry-stage screening for SMEs during product development
-
Functional testing in small-batch or prototype environments
Three-Zone vs. Two-Zone: Which Is Right for You?
Here’s a breakdown of five key factors to consider:
-
Sample Sensitivity Is your sample fragile or sensitive to motion?
-
Temperature Ramp Requirements Do you need extremely fast transitions or ultra-wide temperature ranges?
-
Test Frequency & Duration Will the chamber be used for high-frequency, 24/7 cycles?
-
Space and Budget Constraints Are there limitations on footprint or capital investment?
-
Throughput Needs Do you require parallel testing or high-throughput configurations?
In general:
-
Three-zone chambers are preferred for high-reliability sectors—such as aerospace, defense, and chip manufacturing—where data consistency and stress control are paramount.
-
Two-zone chambers are ideal for general-purpose use, early-stage product validation, or cost-sensitive projects.
Expert Tips for Selecting the Right Structure
-
Understand Your Testing Standards Are you complying with MIL-STD-883, IEC 60068, or GB/T 2423? Do you require long dwell times at extreme temperatures?
-
Assess Sample Size & Quantity Large samples or multi-piece setups benefit from the stable test zone of a three-zone chamber. Compact samples may be better suited for a two-zone solution.
-
Evaluate Operation Intensity For continuous or long-term testing (e.g., 24/7 operation), a three-zone system offers better durability and thermal isolation.
-
Match to Budget, Space & Energy Needs Two-zone systems are more space- and cost-efficient but should still meet technical specs. Confirm this before committing.
-
Choose a Reliable Manufacturer A trusted vendor should offer not just quality equipment but also robust after-sales support—such as remote monitoring, software upgrades, and application consulting.
Final Thoughts: The Right Structure Enables Accurate Testing
Thermal shock testing is not just about changing temperatures. It’s a complex evaluation of thermal control precision, system performance, and structural engineering. Selecting the right thermal shock chamber structure ensures not only test efficiency but also the credibility of your results under extreme conditions.
There’s no universal winner between three-zone and two-zone chambers—only the best match for your unique testing goals. By understanding the engineering logic and application boundaries of each, you’ll be equipped to make the most informed investment decision.
For deeper insights into chamber configurations, technical specs, or real-world application cases, read our related article: How to Choose a Thermal Shock Chamber?
Let precision guide your selection—and reliability define your results.